Venison Processing Best Practices
The satisfaction of filling your freezer with the spoils of your own hunt is matched only by processing that deer yourself. Processing your own venison gives you a deeper connection to the hunting process, creating a field to table experience any hunter can be proud of. Whether you’re just getting started or are an experienced processor, follow these tips to make the most of your harvest.
Field Dress as Soon as Possible

Field dressing the deer as soon as you can after the kill is important to allow the body to cool quickly and prevent any bacteria growth or contamination. A sharp knife and shoulder-length disposable gloves are essential tools for field dressing. While field dressing right away is important, you should wait to skin your deer until it’s out of the field as your meat can dry out and become contaminated with dirt and other debris. If you’re hunting in a cool climate (mid-30s or lower), you can hang the deer overnight. For warmer climates, make sure to pack ice around the animal to keep the meat as cool as possible.
Age to Tenderize
In the ideal scenario, you’ll shoot a young buck that’ll drop immediately to the ground and yield tender, succulent pieces of meat. But since that’s not always the case, you can improve the flavor and texture of your deer by aging it. The aging process breaks down enzymes and muscle cells that will enhance the flavor and tenderness. Aside from hanging (if it's cool enough), there are three basic ways to age venison: in a cooler on ice, dry-aging in a spare refrigerator or locker, and wet aging in a vacuum-sealed bag. Whatever way you choose, it’s crucial to age at a temperature between 34-40 deg. F. This process can take between 2-10 days, depending on your deer (the longer you age, the more tender the meat).
Trim Well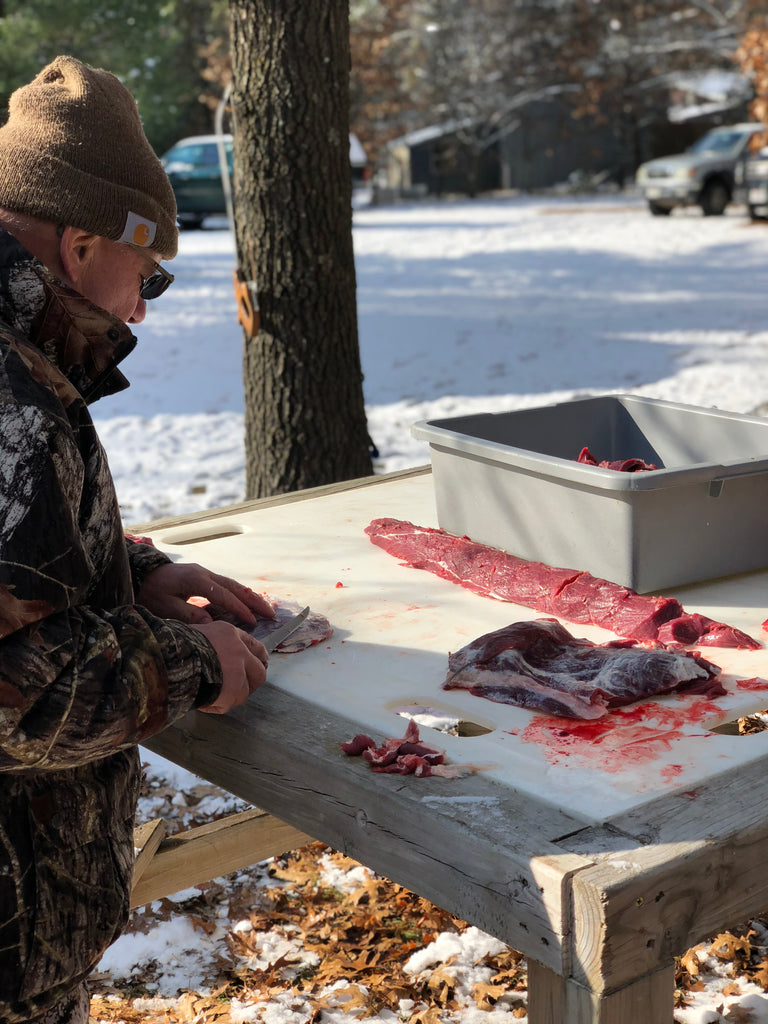

You’ve heard it before: fat equals flavor. But this is not the case when it comes to venison. The “gamey” flavor people complain about with venison is greatly enhanced by remaining fat and silverskin. For the best tasting deer meat, it’s important to take the time to trim off fat, membranes, sinew, and other tissues. Aim to remove most during processing and leave the fine stuff until just before the cook. When making burgers or homemade sausage, adding pork trimmings will increase your fat content while adding great flavor.
Have the Right Equipment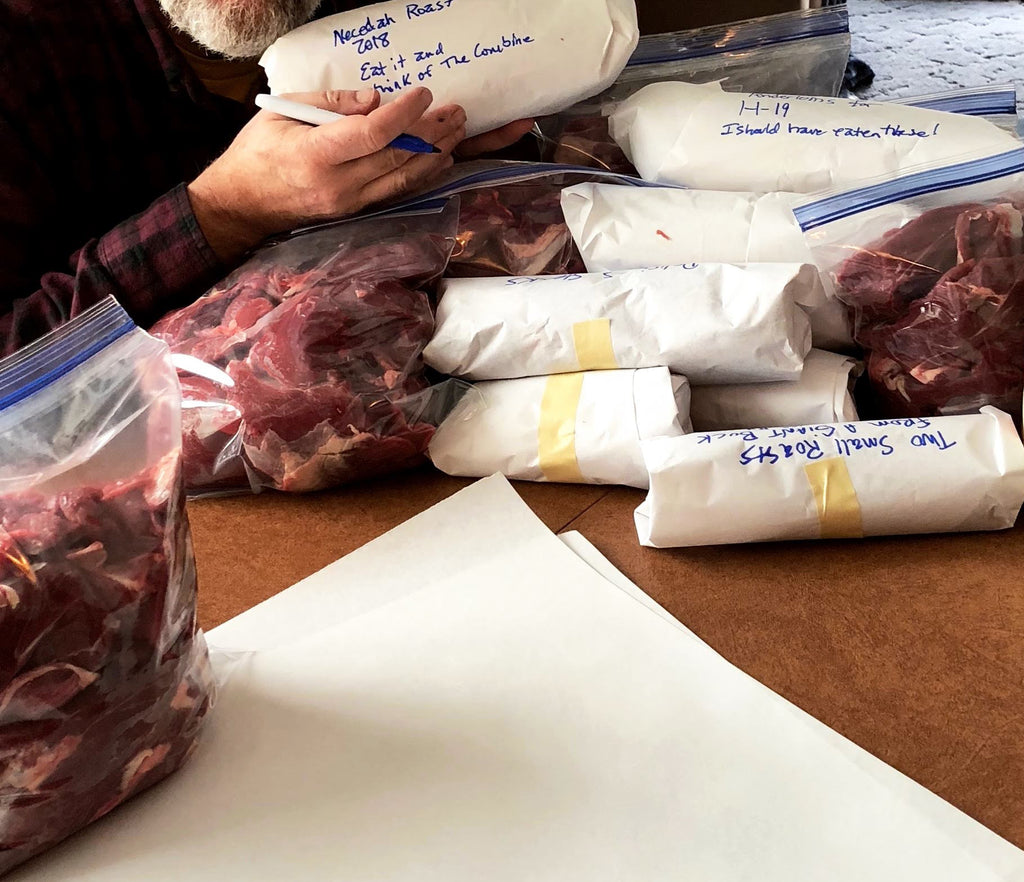

Whether you’re processing your own deer or having a butcher do it for you, you’re going to need a place to put all that deer meat when all is said and done. Assume that your meat yield will be 40-50% of the animal weight, that’s around 40-60 lbs of meat that you’ll have to store. So it’s important to invest in a good chest freezer that will help maintain a consistent temperature and preserve your harvest as long as possible. You’ll also want to invest in a vacuum sealer to ensure no air touches your meat and spoils it. Meat grinders, stuffers, meat bags, and dehydrators are also useful tools to have on hand for processing all the parts of the deer. If you’re making deer sausage, make sure you’re using the right casings. Tip: get creative when you label your packaging. Not only will it help you remember what cut of meat is in the bag, but it's a great way to trigger a fun memory from last years deer camp!
Use the Whole Deer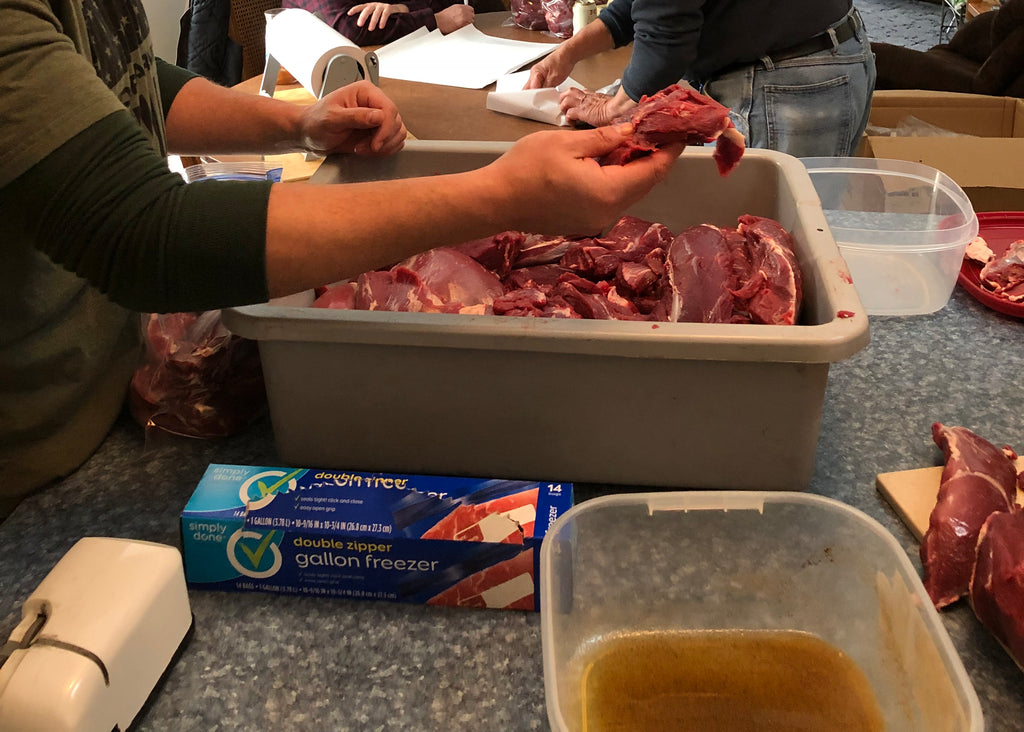

You’ll get the most out of your harvest by knowing which cuts are best for cooking. Remember that the leanness of venison makes it prone to drying and overcooking. Venison will look rare when it is actually medium and if it’s a light pink medium color, it’s well-done.
Front Shoulders: Best for grinding and turning into burgers, meatballs, lasagna, or homemade sausages.
Shanks: These tough pieces can be braised down in stews or ground for use in sausages.
Tenderloin: Obviously tender, but small. Sear in a cast iron on high heat with a great wild game seasoning.
Backstrap: Everyone’s favorite cut, not made for any special treatment. Coat with wild game seasoning, sear on the grill and serve with a great pan sauce, or try reverse searing on your smoker if you want to get fancy.
Ribs: Large, lean with a lot of connective tissue. Many hunters scrape out the meat and use it for the grind, but you can make a great smoked or braised rack of ribs by leaving on the layer of meat between the ribs and shoulder.
Hindquarters: The hindquarters have the most amount of meat that make great roasts, steaks, stew meat, and more.
- Eye of Round: Jerky, jerky, jerky! Try all of our favorite flavor pairings in our Venison Jerky Kit, and if you’re just getting started, check out our Ultimate Guide to Making Jerky.
- Bottom Round: Slightly tougher cut that makes it great for braising and stew meat.
- Top Round: Great for slicing into steaks or roasting.
- Sirloin: Smoke it low and low and slice it up for sandwiches or over mashed potatoes.
Scrap: Don’t let any part of your deer go to waste. Save all those scrap pieces for your sausage grinder and make homemade snack sticks, summer sausage, brats, wieners, and more.
Enjoy yourself

Processing a deer can feel like a lot of work, especially if it's your first time. It's important to take a few breaks and enjoy your time with family and friends. What better way to do that than to cook up some cuts of freshly prepared meat! Lucky for you, we've put together a list of our favorite venison seasonings: View our Top 10 Seasonings for Venison